For my first ever "Do It Yourself" post here on this blog, I'll depict, step by step, how you can paint your own T-shirt. I've actually already posted this on my old blog, but just for the sake of posting, I'm blogging about it once again over here. So anyway, I've already done this project a couple of times. To be honest, it's quite a simple and easy endeavor if you think about it. All you'd need are the materials called for, some spare time, and a dash of creativity for this DIY project. Alright, I'll get started then:
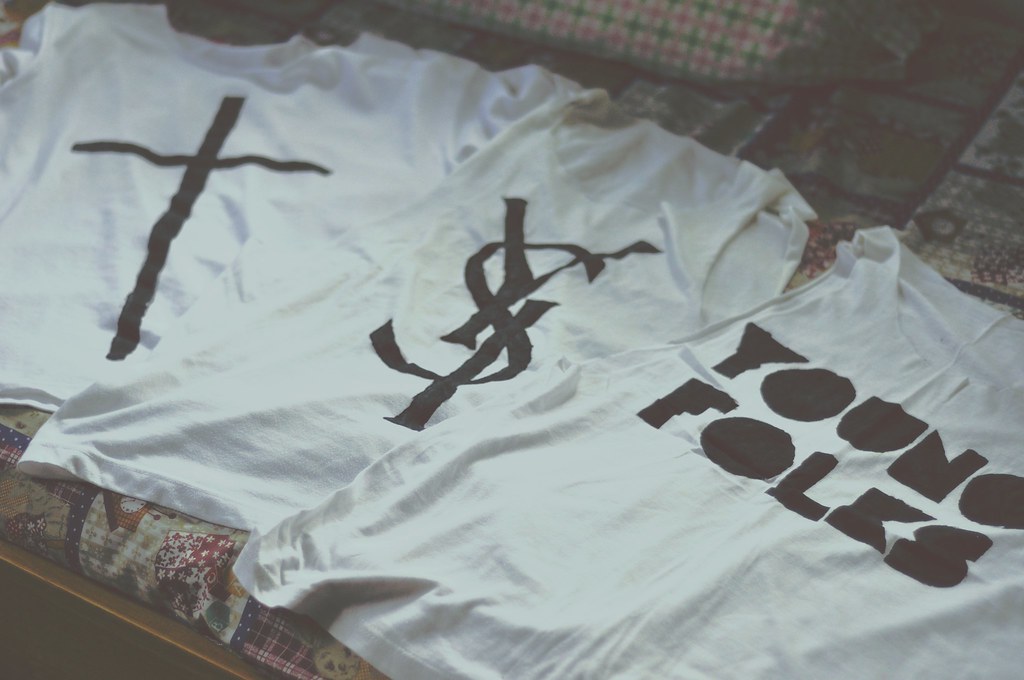 |
| Some shirts that I'd made |
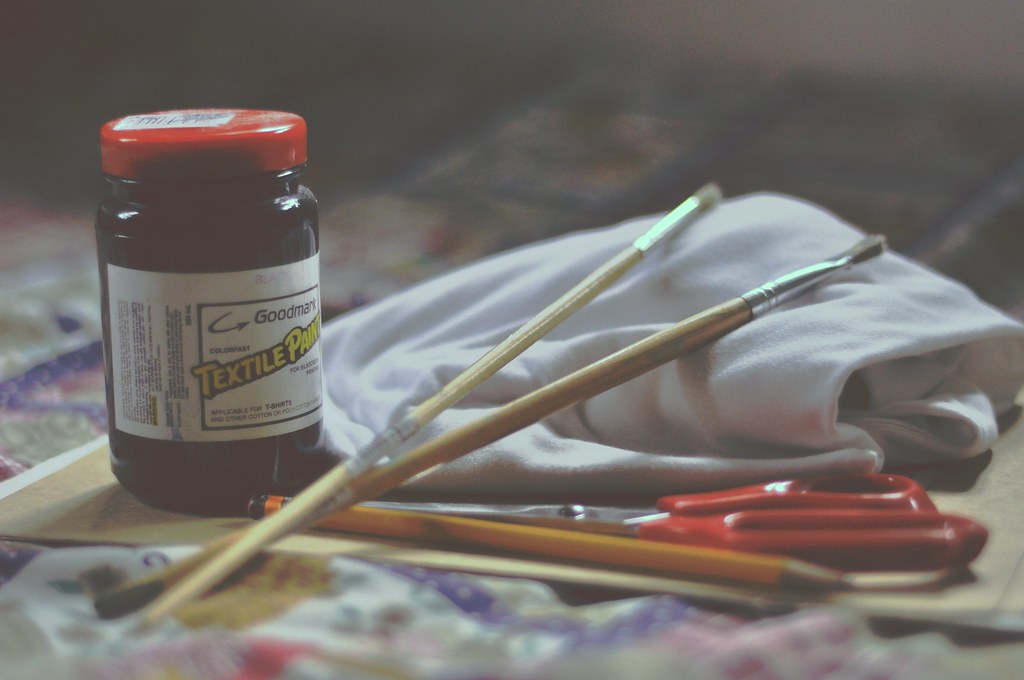
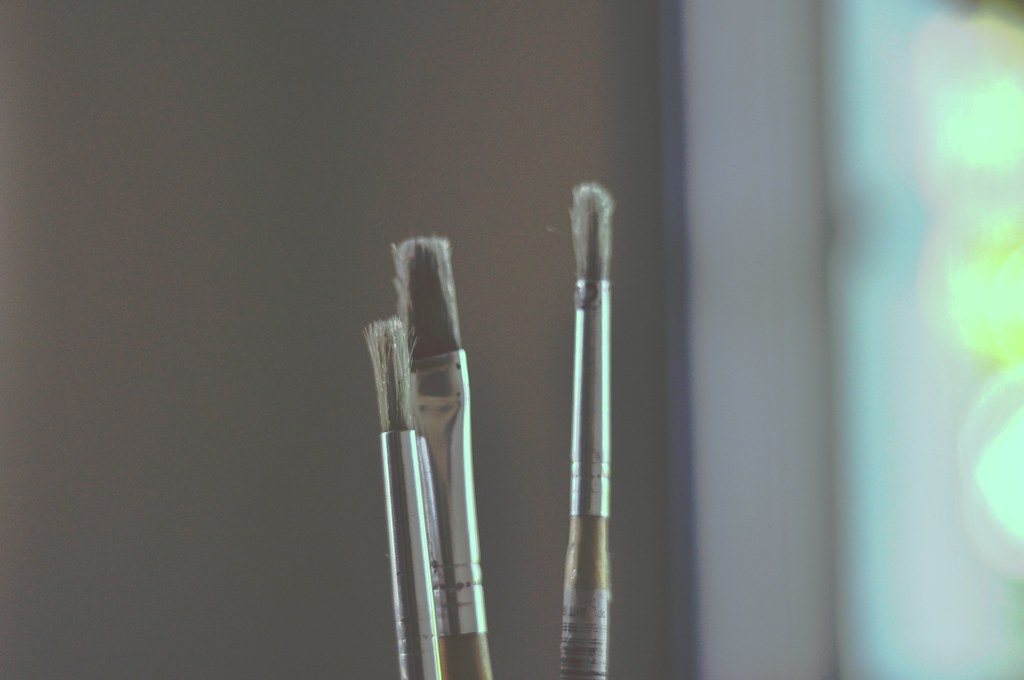
1. Gather all your materials! You’ll need some paint, paintbrushes, a
pencil, scissors or a cutter, folders, and a plain t-shirt.
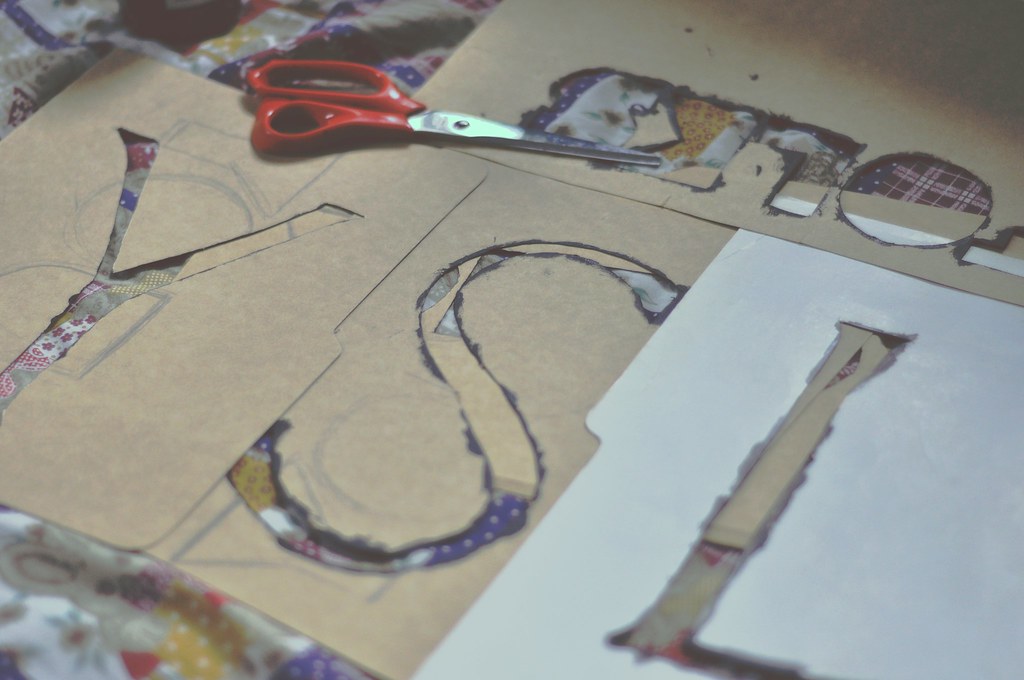
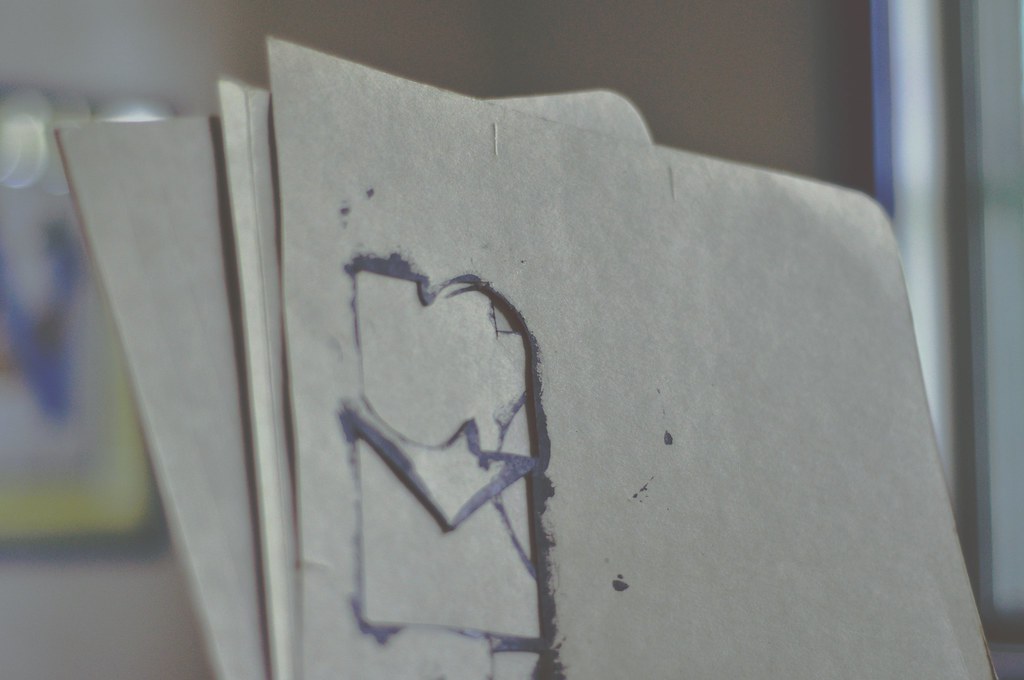
2. Choose a design and transfer it onto a folder, and cut it out afterward.
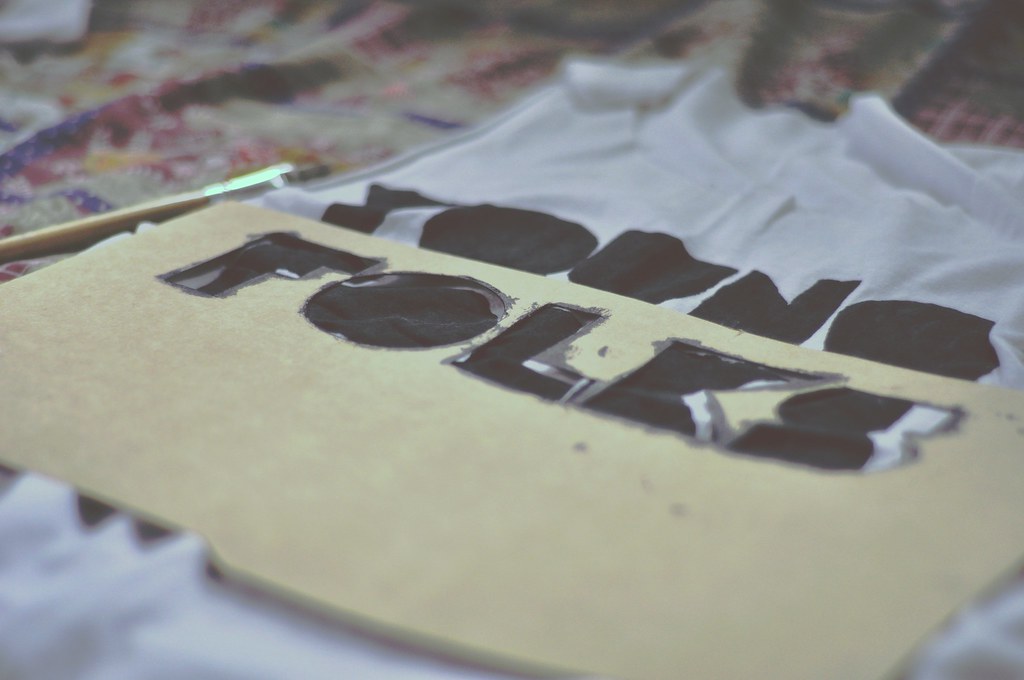
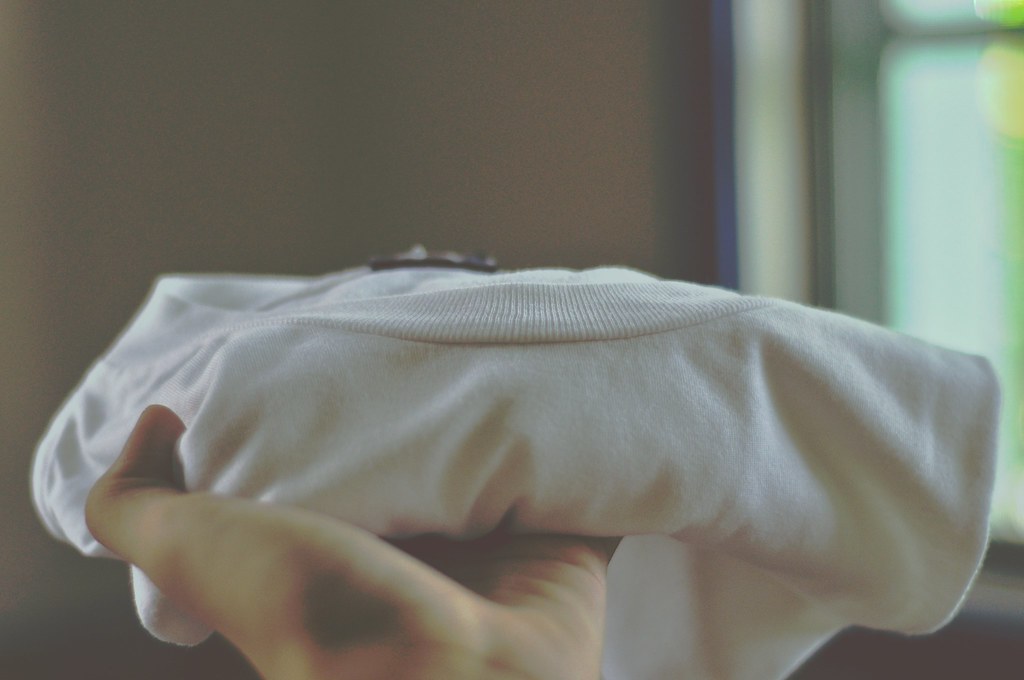
3. Start painting! Place your stencil on top of the shirt and apply some paint.
4. Let your creation dry all the way, and you're all set to wear it!
*Remember to use Textile paint when doing this because it’s really made for printing/painting on t-shirts.
*When painting the shirt, don’t forget to place a plastic bag or the like inside the shirt. You wouldn’t want the paint to bleed to the
back side!
*Take note that when painting, the paint can still crawl outside the
area of the stencil. These shirts are home-made anyway, so I guess it’s
okay. Unless you’d want to use tape to outline your design (which will
help to stop the paint from spreading, but will take some time to do).
*Don’t put too much detail into the design.
*Apply more than one coat of paint so that it’ll last.
Alright, I guess that concludes this DIY post then. Oh, and a Happy Easter to everyone!!


No comments:
Post a Comment